Managing Objects in Cogover
In Cogover, Objects are used to store various types of information that need to be managed. Each object contains records and fields to help organize the data. For example, to manage customer information in a CRM system, there would be a Contact object that includes fields such as Name, Phone Number, Email, Address, Job Title, and Company.
Types of Objects in Cogover
*Based on the creator, there are two types of objects: Standard Objects and Custom Objects.
Standard Objects: These are default objects automatically created by the system to support basic functionalities when a new workspace is initialized.
Standard objects are universally applied across all workspaces. For example:
_ Employee: Stores employee information
_ Department: Stores department data
_ Position: Stores job position information
_ Department Employee: Stores the relationship between departments and employees
Custom Objects: These are user-created objects to digitize and manage business-specific data.
Based on dependency relationships, objects are classified into two types:
-
Normal Objects: Independent objects that do not rely on other objects.
-
Junction Objects: Used to manage many-to-many (N-M) relationships by referencing multiple other objects.
Example: A contract can be managed by several salespeople, and one salesperson may be responsible for multiple contracts.
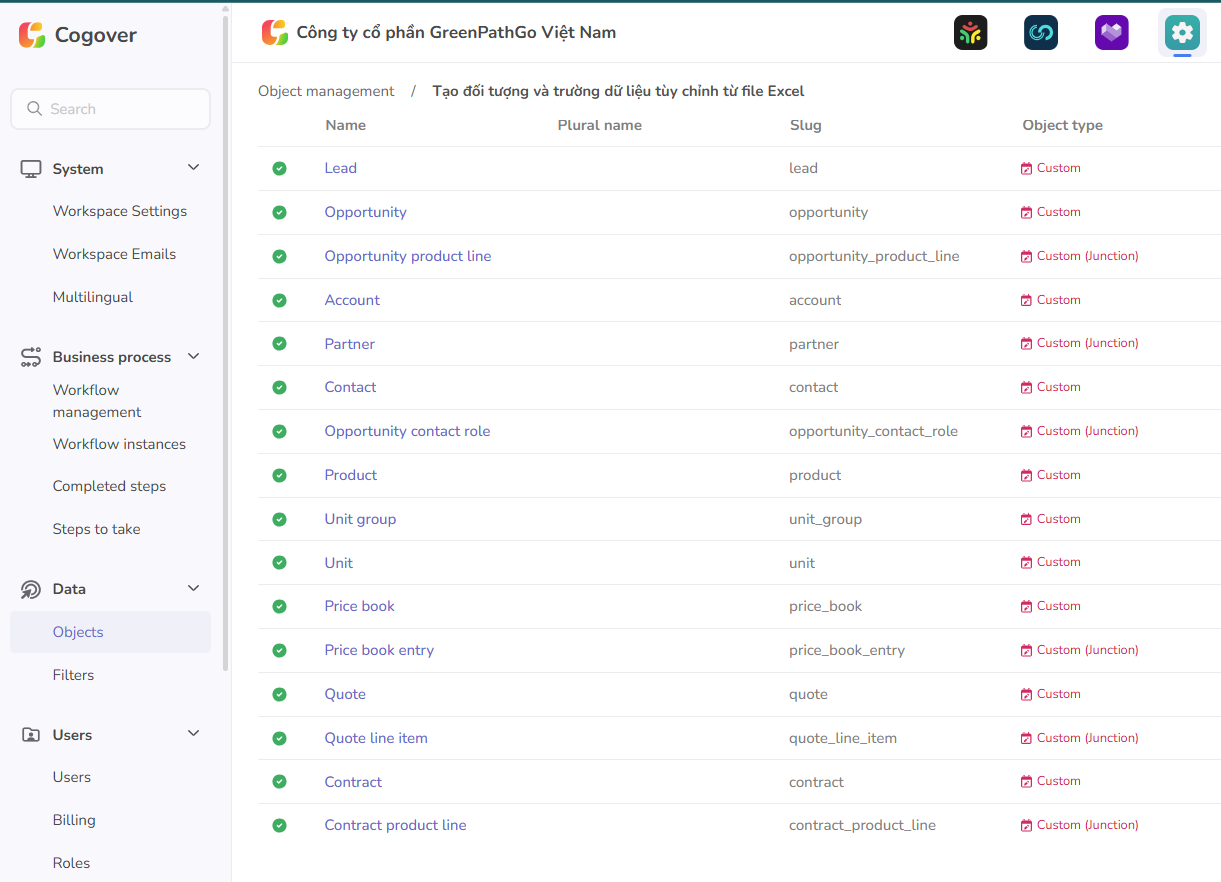
Object List Management
The Object List displays all created objects used for data storage and organization. From here, users can search, customize, create, or delete objects.
Administrators with proper permissions can access the Object List via: Settings → Objects
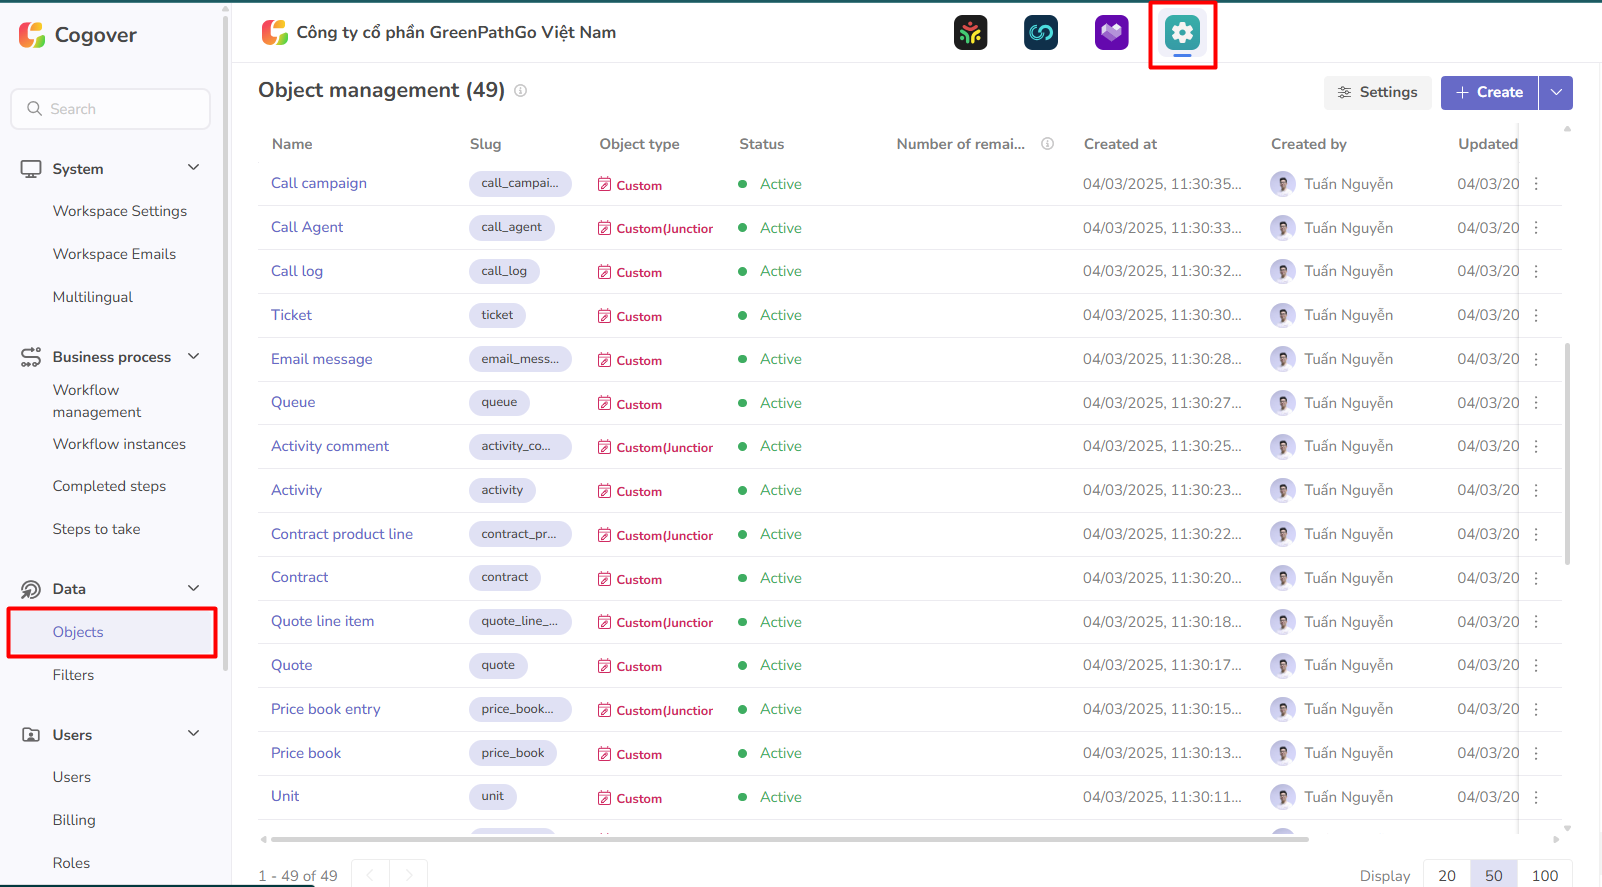
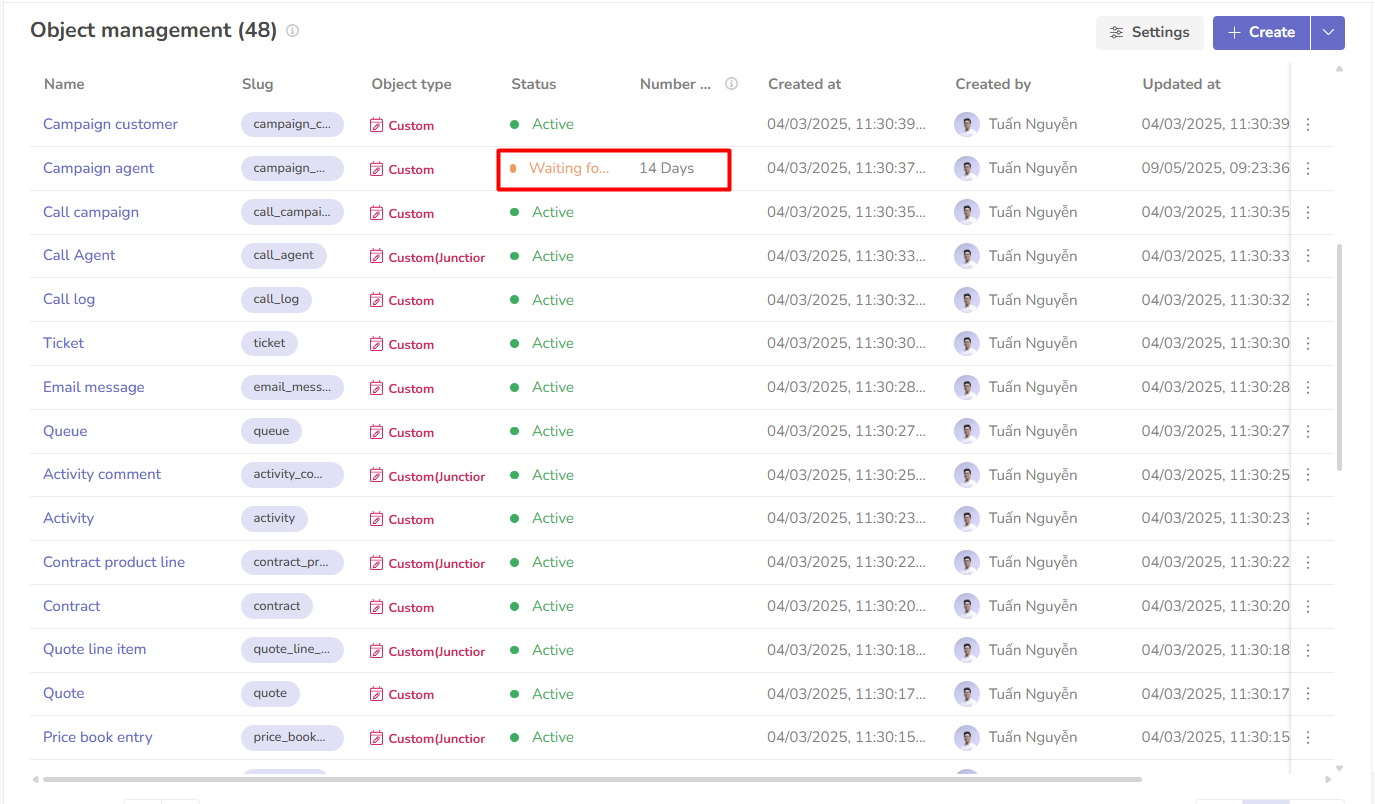
Object List
Each object includes key details:
-
Name
-
Plural Name
-
Slug: Used for API queries related to the object
-
Type: System or Custom
-
Status: Active / Inactive / Pending Deletion
Active: Displayed on the user interface; users can create and update records.
Inactive: Hidden from the user interface; no new records or updates can be made.
Waiting for delete: Deleted by an admin, stored for 14 days before permanent deletion; can be restored during this period.
- Number of remaining Days: Days left before permanent deletion (only for “Waiting for delete”)
- Created At
- Created By
- Last Updated
- Last Updated By
- Settings: Export object data and configure field display
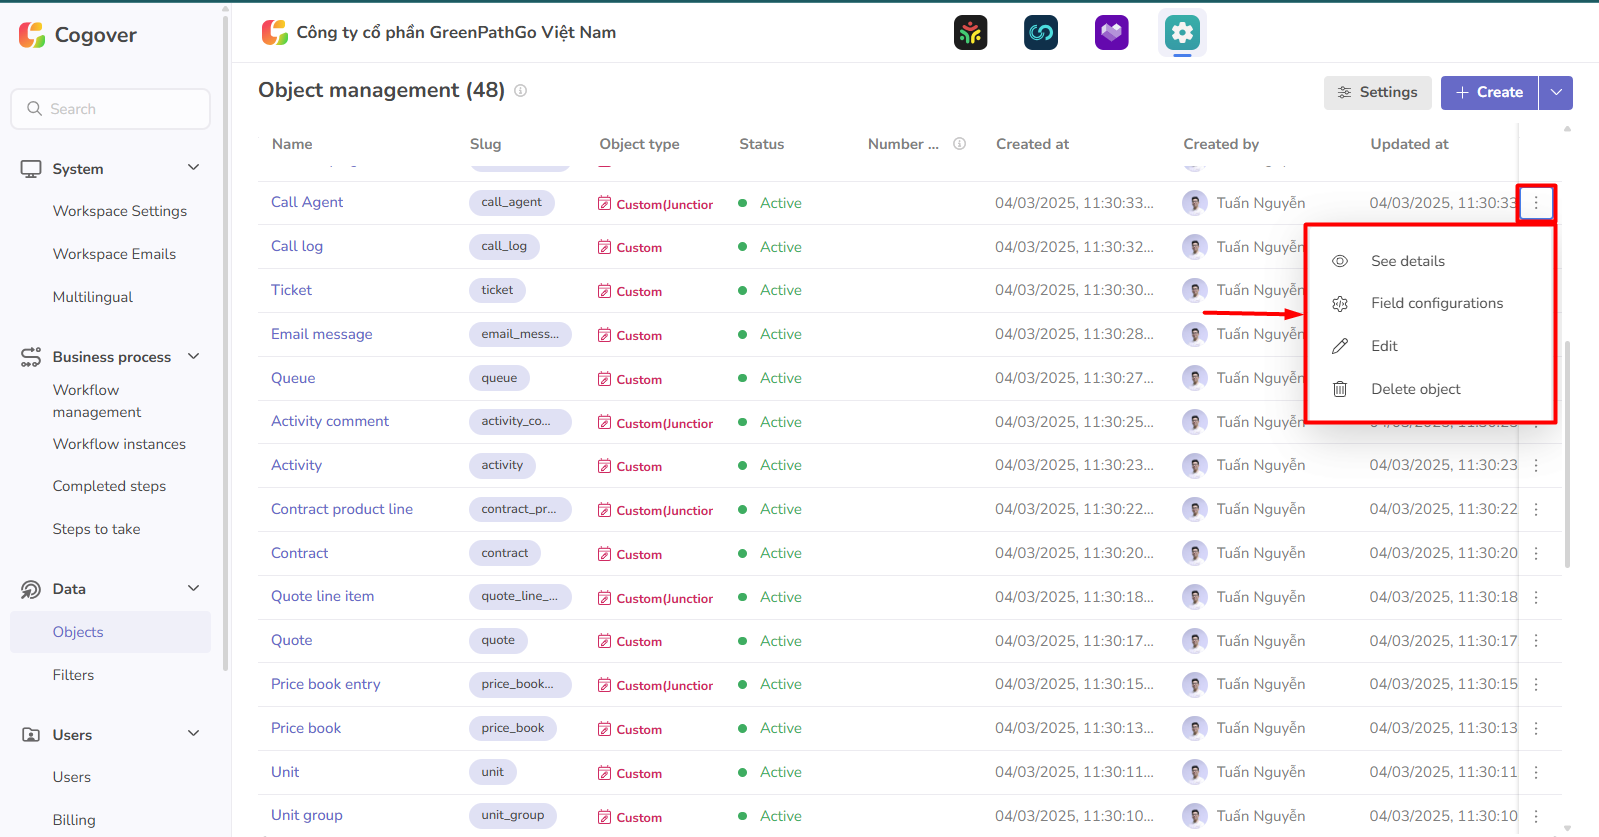
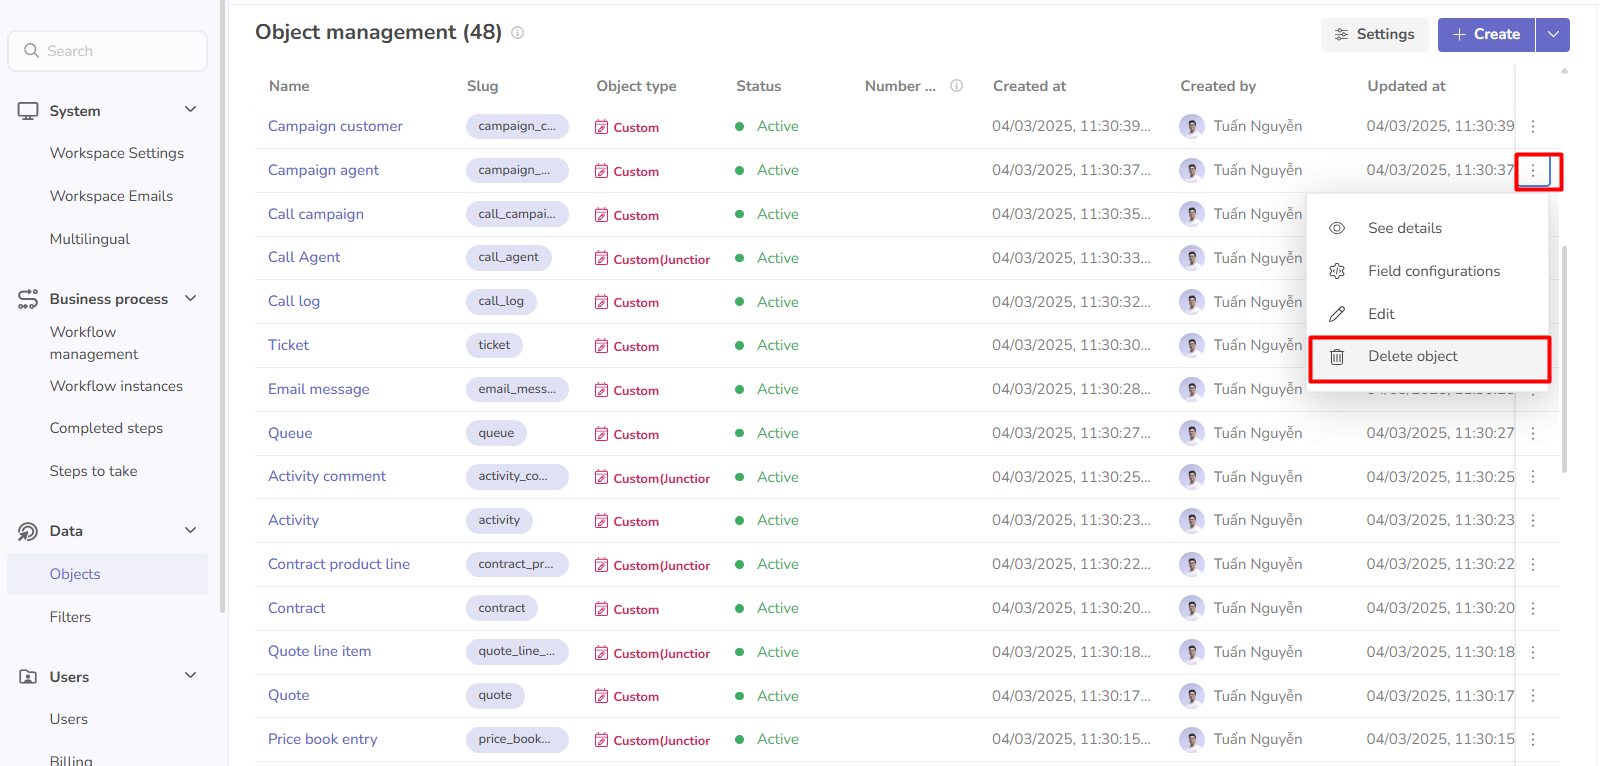
Object Actions:
-
See Details: Shows object details and related configurations
-
Fields Configuarations: Opens the object’s field configuration
-
Edit: Allows editing the object’s name
-
Delete Object: Marks object for deletion, with a 14-day recovery period
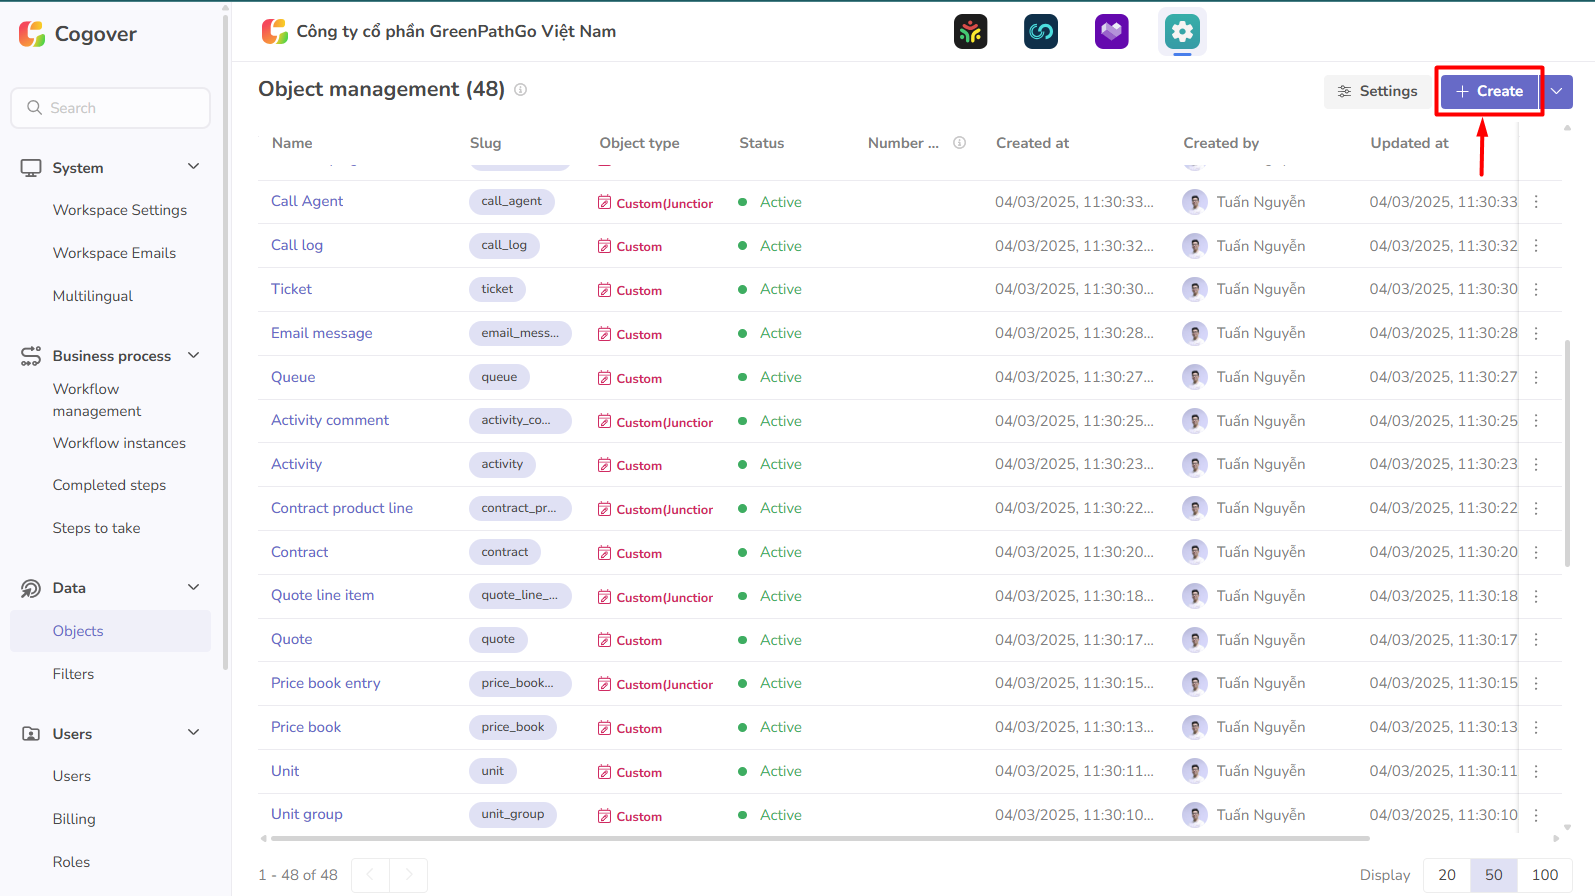
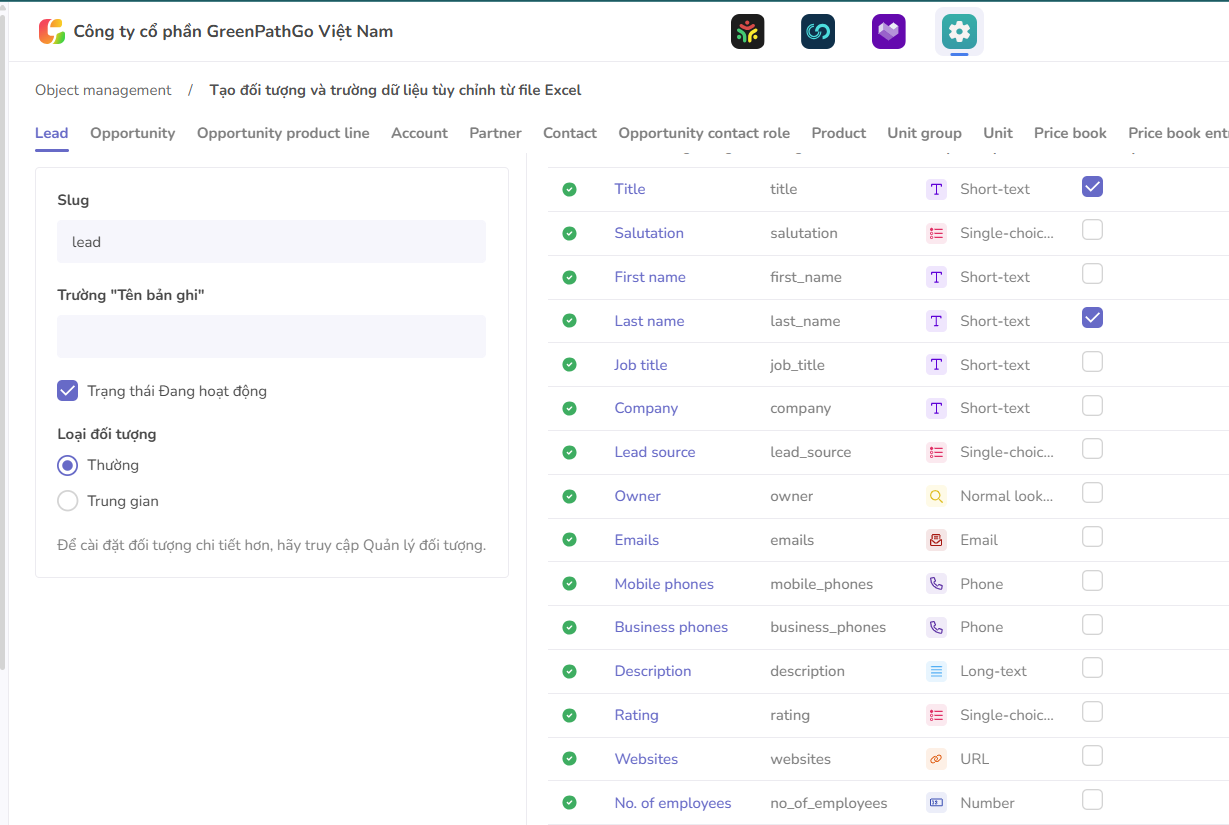
Creating a New Object
You can create a new object using two methods: Manual Creation - Import via Excel
Manual Object Creation
Click Create in the Object List screen to open the creation form. Fill in the required fields:
-
Name: Name of the object
-
Slug of the object: Auto-generated based on the name or customized as needed (cannot be changed after creation)
-
Field Name: The field used as the default record name
-
Object Type: Standalone / Child / Junction
Click Create Object to complete the setup.
Next, continue with:
-
Adding fields
-
Designing interface layout
-
Configuring Data Security Rules Learn more
-
State Transition Rules Learn more
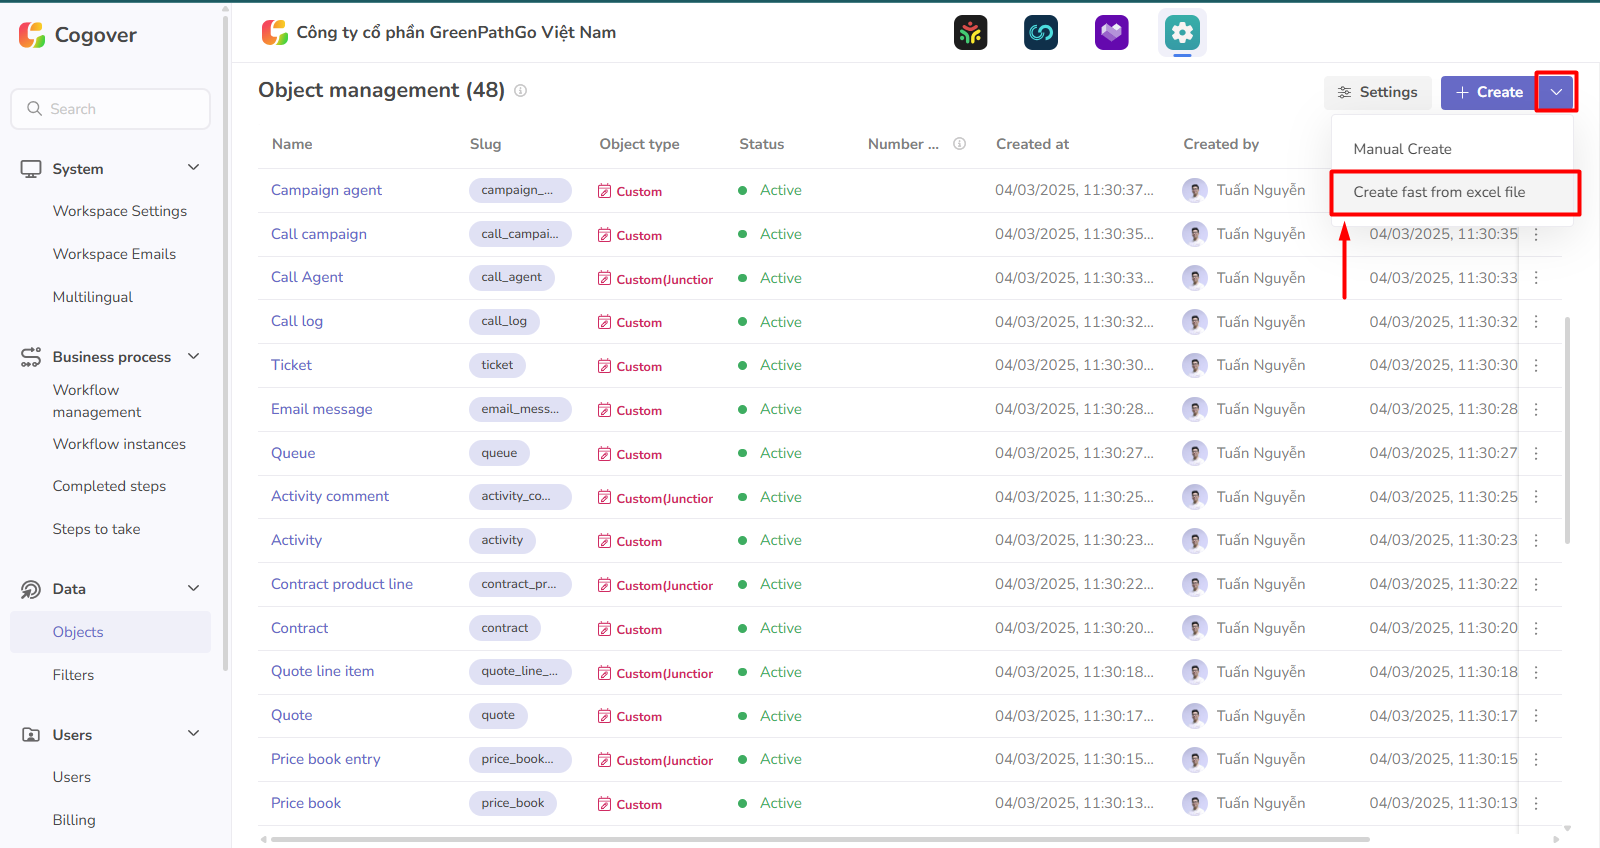
Quick Create from Excel File
This feature helps you quickly create an object, reducing repetitive steps by using a template Excel file.
Click Create, then choose Create from Excel file
 Step 1: Upload the Excel file containing object information. Cogover provides a template for convenience.
After selecting the file, click Continue
Step 1: Upload the Excel file containing object information. Cogover provides a template for convenience.
After selecting the file, click Continue

Step 2: Process object data Cogover reads the uploaded Excel data and displays a list of objects, along with status notes (Existing / New)
Step 3: Process field information
At this step, review the data fields of each object
Each object has various data fields with different types, and some fields may be required.
After reviewing field accuracy, click Continue to create the object
Step 4: Complete the process The system will display upload results and object creation status. Click Finish to complete.
Edit Object
In the object list, click the action icon and select Edit
Users can update the following information:
-
Name
-
Field name
-
Status
-
Identify records using Composite ID
Delete Object
When the object is no longer needed, the administrator can delete it. In the object list, click the action icon and select Delete
Before deletion, the system will notify you of any related data that may be affected. You can review and confirm deletion.
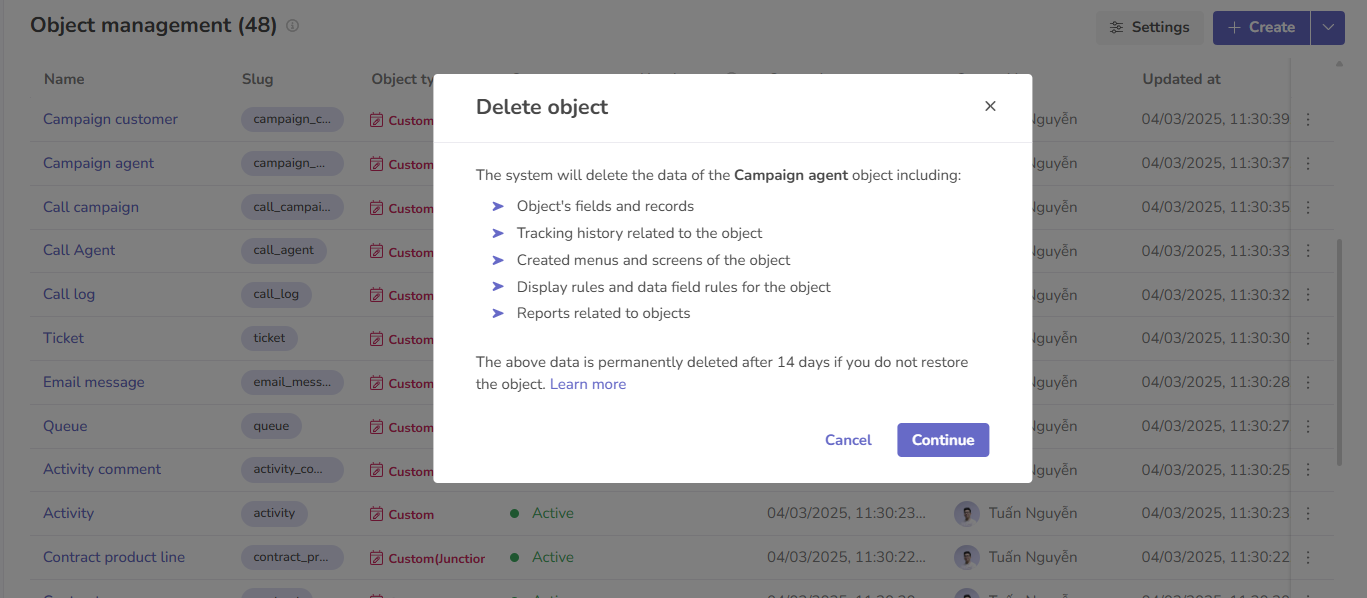
After confirming deletion, the object will be stored for 14 days. You can either restore or permanently delete it.

Rate this page
On this page